The Ultimate AI-Powered
Cyber GRC Solution
Automate Compliance. Elevate Security. Stay Audit-Ready – Continuously.
Trusted By
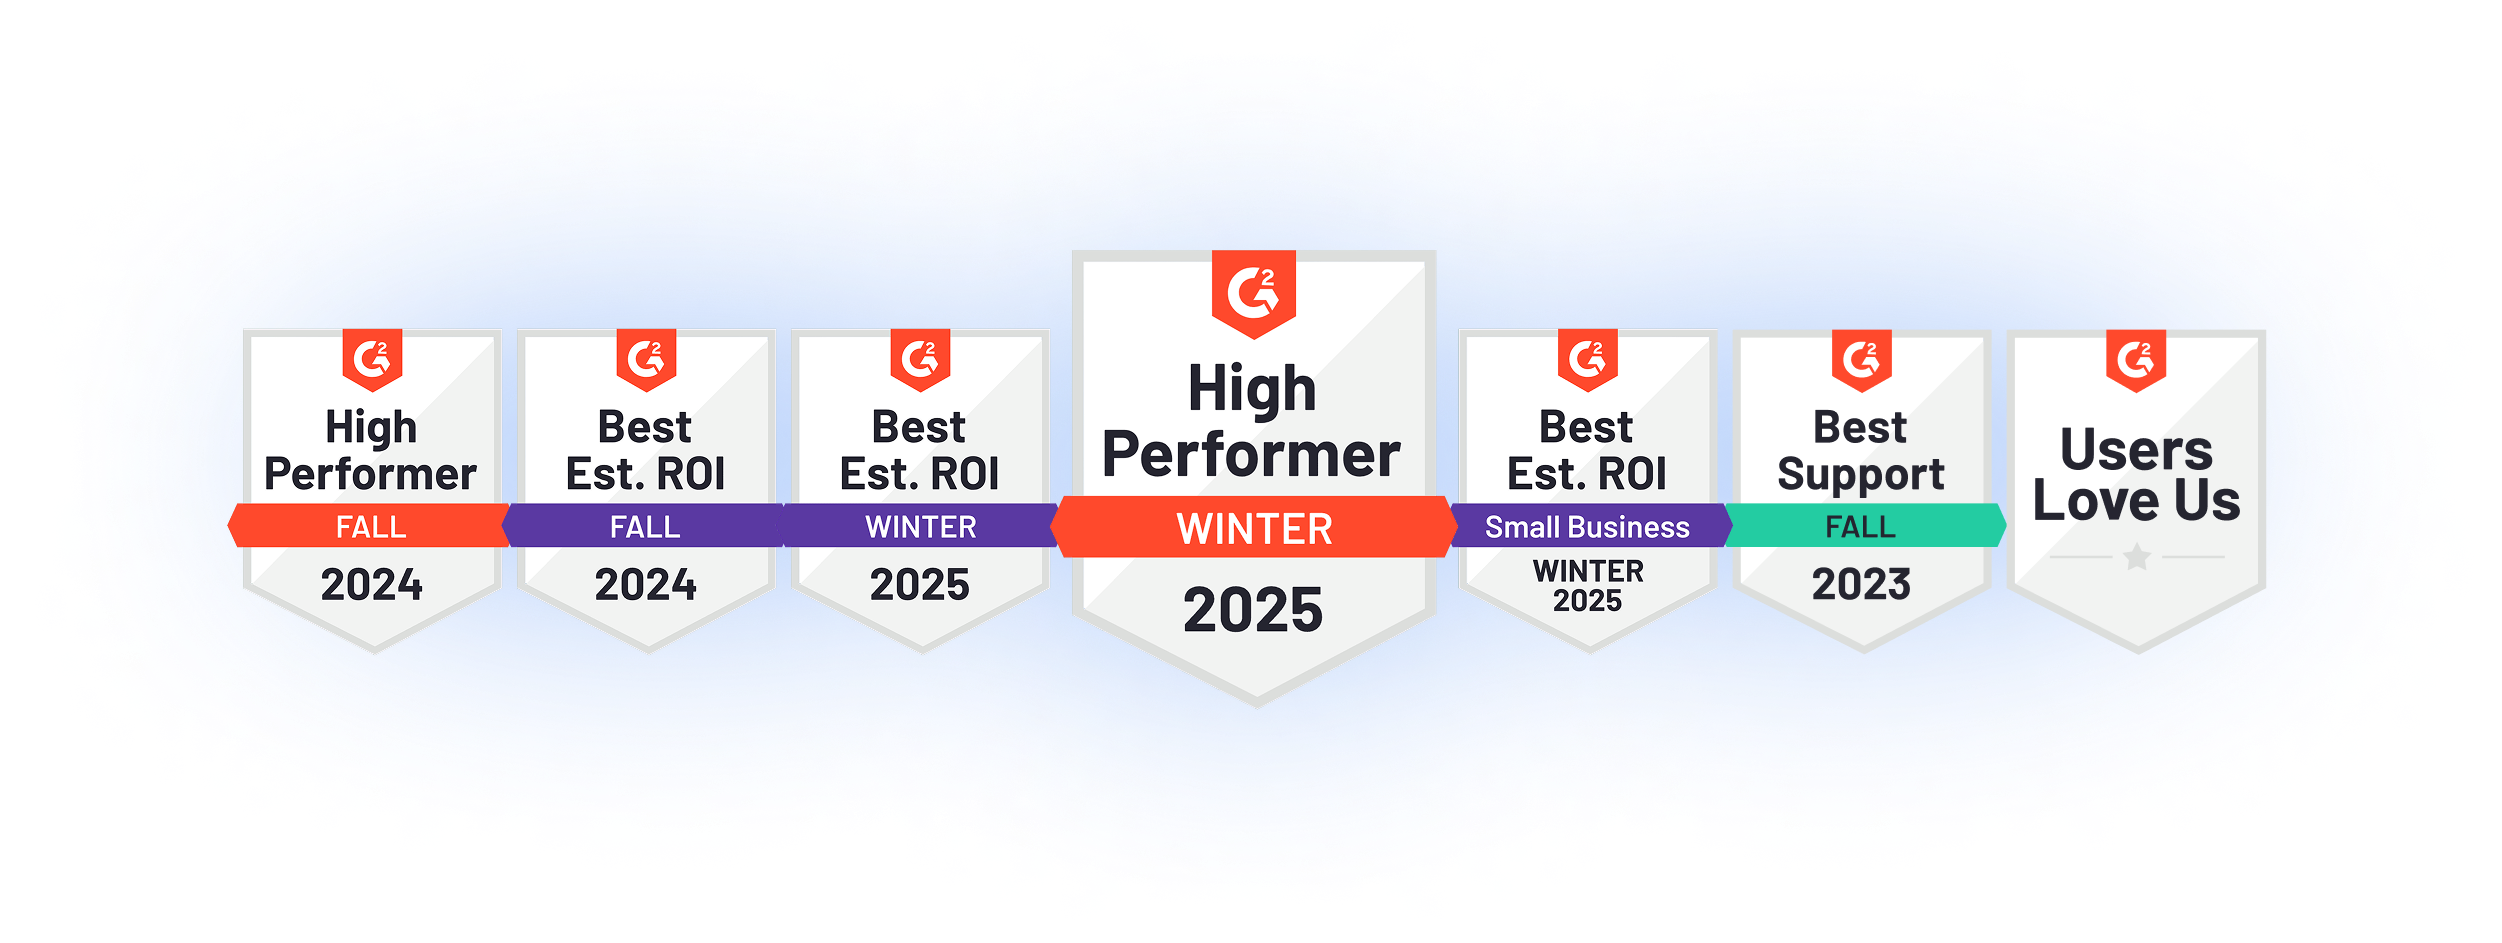
Recognized as a Leading Vendor by the Industry
Top Choice on G2 for Cyber GRC solutions

Named as Sample Vendor in:
Cyber Risk Management Hype Cycle (Jul’24). Cyber GRC Innovation Insight (Aug’24).
Cyber Risk Management Hype Cycle (Jul'25).
Growing sophistication of cyberthreats and regulatory complexity challenge security and compliance teams
of security compliance managers
struggle to align cyber risks and compliance with business impact.
of Cyber security leaders
report increased personal legal exposure due to cybersecurity non-compliance.
of cybersecurity professionals
are seeking to implement automation to reduce costs and streamline compliance.
is the average cost of compliance
for established organizations, up 60% over the last five years.
Introducing Cypago Cyber GRC Automation
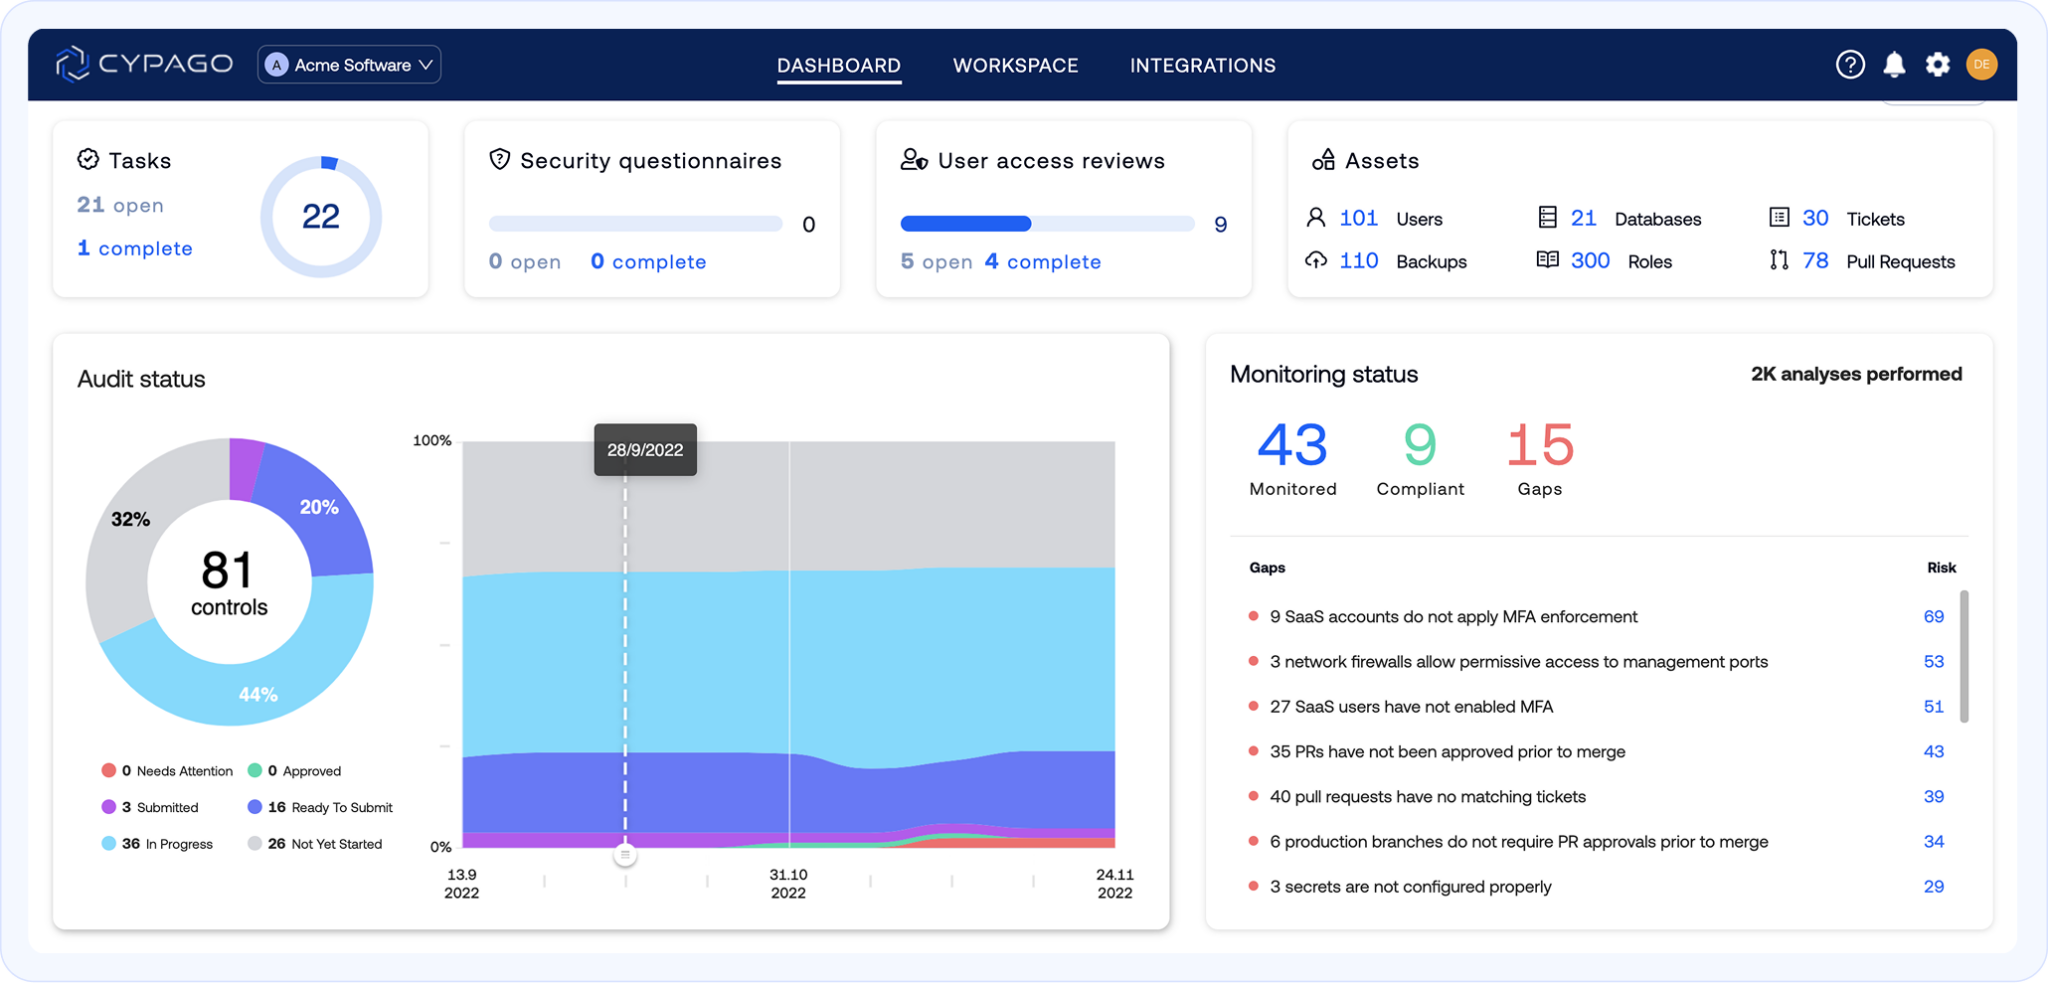
Cypago’s AI-powered compliance automation helps organizations reduce costs, enhance resilience, avoid fines and reputation impact, and make strategic decisions that drive business success.

Seamless Audit Readiness Across Frameworks
Streamline compliance across multiple frameworks and stay effortlessly prepared for any audit.

Effortless, Continuous User Access Reviews
Automate user access reviews, gain full visibility, detect risks instantly, and simplify audits.

Go proactive with Continuous Compliance
Continuously detect compliance gaps across multiple business units, reduce risk, and stay audit-ready.
What Security & Compliance Leaders Are Saying

Working with Cypago was one of the better decisions that we made early on. This saves us a lot of time, and for startups, time is everything.

Before we had Cypago, the biggest challenge we had was that everything was through Excel spreadsheets. We had to put all the stuff into the Excel spreadsheet, clean it up, create SharePoint folders, create all these sessions with different stakeholders, explain to them what the process looked like, bring everything into these different places, and it's an extremely difficult, tedious process when it's done manually. [...] Now, we've reduced our workload by 30-35%. No more manual work, no more exporting spreadsheets and tickets - all that background noise and overhead is now gone.

Before we used Cypago, we actually did not use anything for compliance. From my past experience, it's a lot of running after people, running after documents, print screens, saving things in folders and sub folders. It's complex. If you use Cypago, it makes things easier.

Cypago has simplified and streamlined our compliance process. With its powerful integration capabilities, we have easily stayed on top of our regulatory obligations. The platform’s intuitive design and flexible workflows let us tailor compliance to our needs and stay current with regulations. I highly recommend Cypago to any organization looking to improve its compliance program and reduce risk.

Cypago has revolutionized our risk assessment process and centralized our security management, giving us a clear, unified view of our security landscape. Since implementation, we've reduced operational costs by over 60% without compromising functionality—in fact, our capabilities have only improved.

With a service like Cypago, you always know exactly where you stand and what your compliance status is. One major advantage during audits is the ability to grant auditors controlled access—even in the middle of the process. This significantly shortens the time needed to address regulatory requirements.
Connect Your Tools and Automate Your Cyber GRC Processes
Easy automation for effective IT and compliance managers. Cypago connects with your tools automatically, so you can focus on your most important work.


